Beginner’s Guide to Doing Gel Nails at Home: Achieving Flawless, Chip-Resistant Manicures
If you’ve ever admired those glossy, high-shine gel manicures at the salon and wondered, “Can I really replicate this durability at home?”—the answer is an absolute yes. Transitioning to a DIY routine is entirely achievable with the proper tool configuration, deliberate technique, and an understanding of the chemistry behind the curing process.
A masterfully executed at-home gel manicure can easily yield up to 14 days of flawless, chip-resistant wear. Beyond the undeniable financial savings, mastering this skill gives you total creative control over your nail aesthetics. This comprehensive, beginner-friendly blueprint strips away the guesswork, guiding you through essential preparation protocols, precision application, and effortless, damage-free removal.
The Curing & Adhesion Matrix:
- Polymerization Chemistry: Gel polish relies on photoinitiators that transform liquid monomers into a rigid, cross-linked polymer network when exposed to specific UV or LED wavelengths.
- The Dehydration Imperative: Eliminating latent moisture and surface lipids from the natural nail plate is the single most critical factor in preventing premature lifting.
- Micro-Layering Architecture: Applying multiple whisper-thin coatings ensures complete light penetration and uniform curing, entirely eliminating the risk of internal bubbling or wrinkling.
What You Need for At-Home Gel Nails
Gathering high-quality implements before starting is essential for a professional finish. Investing in a well-reviewed beginner’s gel kit will generally cover these foundational bases:
- UV/LED Curing Lamp: A high-efficiency lamp (preferably 48 watts or higher) to ensure complete polymerization.
- Gel Base Coat & Top Coat: Specialized formulations designed to anchor the color and seal the free edge.
- Gel Polish Tones: High-pigment, professional-grade gel lacquers.
- Nail Dehydrator & Acid-Free Primer: Chemical balancing agents that strip moisture and maximize mechanical bond.
- Isopropyl Alcohol (91%+): Essential for sanitization and removing the oxygen-inhibited sticky layer.
- Mechanical Tools: High-grit nail files (180/240), fine-grit buffers, orange wood sticks, and lint-free wipes.
Step-by-Step Guide: How to Do Gel Nails at Home
1. Structural Nail Preparation
Flawless longevity is dictated by prep work. Shape your free edges using a fine-grit file, moving in a single direction to prevent microscopic splitting. Gently manipulate your cuticles backward using a pusher, ensuring you scrape away the dead true cuticle adhering to the nail plate. Lightly buff the surface with a high-grit buffer to remove the natural shine, creating microscopic anchor points.
Pro-Tip: Never submerge your hands in water or apply cuticle oils prior to a gel application. The natural nail plate is highly porous; water absorption causes it to expand temporarily. When it later contracts beneath the cured gel, the physical movement forces immediate lifting and cracking.
2. Chemical Dehydration and Priming
Saturate a lint-free wipe with isopropyl alcohol or a dedicated nail dehydrator to scrub the nail plate clean of residual dust and oils. Follow with a sparse application of an acid-free primer. This leaves a slightly tacky, double-sided adhesive film that significantly enhances product retention.
3. Precision Base Coat Application
Apply a micro-layer of base coat across the nail plate. To prevent pooling, maintain a 1mm safety margin away from your cuticle walls and lateral folds. Before placing your hand into the lamp, use an orange wood stick to scrape away any product that has touched the skin. Cure under your UV/LED lamp for 30 to 60 seconds according to manufacturer specifications.
4. Thin Color Layering
Slick on your chosen gel color in ultra-thin strokes. Wipe one side of the brush entirely clean against the bottleneck before application. It is always superior to build color opacity using 2 to 3 thin coats rather than attempting full coverage in one thick layer. Thick layers trap uncured, liquid polish beneath a hardened surface shell, leading to bubbling and peeling. Cure each individual color layer for 60 seconds.
5. Sealing with Top Coat and Free-Edge Capping
Apply your gloss or matte top coat across the entire nail canopy. Ensure you physically “cap the free edge” by sweeping the brush horizontally along the very tip of your nail. This wraps the gel around the edge, creating a structural shield against daily impact and chipping. Perform a final cure for 60 to 90 seconds.
6. Eradicating the Inhibition Layer
Unless you are using a specialized “no-wipe” top coat, your nails will emerge from the lamp feeling sticky. This is simply the oxygen-inhibited layer of uncured gel. Saturate a fresh lint-free wipe with 91% isopropyl alcohol and firmly wipe the surface to reveal a perfectly dry, mirror-like finish. Finish by massaging a premium oil into your cuticles to restore hydration.
Common Mistakes Beginners Make (and How to Avoid Them)
- Flooding the Cuticle Wells: Allowing liquid gel to touch the surrounding skin creates an immediate path for water and oils to infiltrate underneath. If product floods the skin, clean it thoroughly with a brush dipped in alcohol before curing.
- Peeling Cured Product Off Hand-to-Nail: Ripping or peeling lifted gel tears away the delicate upper layers of your natural keratin plate, leading to thin, splitting, and painful nails.
- Using Improper Curing Times: Under-curing leaves soft, hazardous chemicals against your skin, while over-curing can make the gel brittle and prone to shattering. Always follow your specific brand’s curing guidelines.
How to Remove Gel Nails Safely
Protecting your natural nail health during removal is just as important as the application process. Follow this non-aggressive, salon-grade soaking method to preserve your underlying keratin structure:
Step 1: Disrupt the Top Coat Barrier
Take a medium 180-grit file and gently scratch the shiny surface layer off your manicure. Breaking this top-coat seal allows the acetone to penetrate the deeper color layers much faster, cutting your removal time in half.
Step 2: The Acetone Compress Wrap
Saturate a small piece of a cosmetic cotton ball in 100% pure acetone—avoid diluted regular polish removers, as they contain water and oils that stall the process. Place the soaked cotton directly onto the nail plate and wrap it tightly in a square of aluminum foil to trap your natural body heat, accelerating the breakdown.
Step 3: Gentle Flaking Removal
Allow the compresses to sit undisturbed for 10 to 15 minutes. Upon removing the foil, the gel should appear completely crinkled, scraped up, and loose. Use an orange wood stick or a dull cuticle scraper to gently push the flaked product away. If the gel resists, wrap it back up for an additional 5 minutes rather than scraping forcefully. Wash your hands thoroughly and apply a heavy layer of hydrating cream and cuticle oil.
Final Thoughts
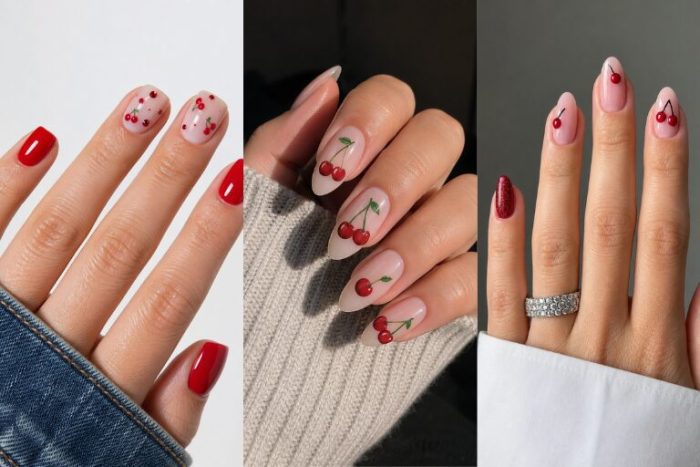
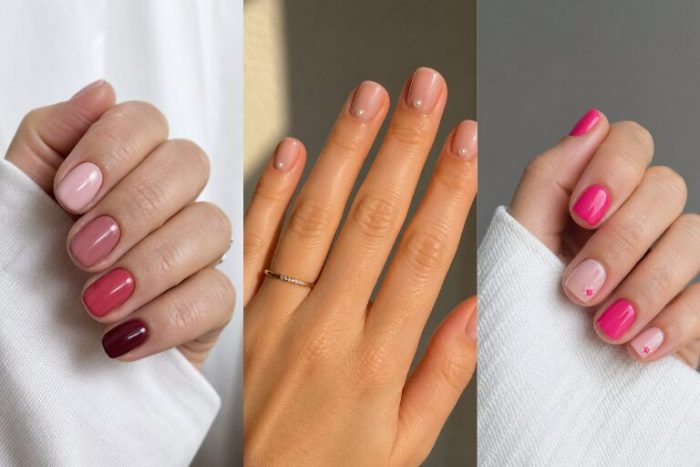
Transitioning to an at-home gel nail routine is a highly rewarding, cost-efficient skill that immediately elevates your personal grooming routine. By respecting the chemical requirements of the product—focusing heavily on dry preparation, maintaining clean edges, and practicing restraint with thin layering—you can easily achieve high-gloss, pristine results that rival any luxury salon appointment. As you gain confidence with the basics, your options expand significantly, allowing you to easily experiment with classic nudes, striking pigments, or intricate seasonal nail art from the comfort of your home.
Why does my gel polish feel sticky even after curing it for the correct time?
The sticky film on your nails isn’t a sign of uncured polish; it is the oxygen-inhibited layer. Oxygen in the air prevents the very surface of the gel from polymerizing fully during the cure cycle. Simply wipe this layer away using a lint-free wipe saturated with 91% isopropyl alcohol to instantly expose the hard, glossy, completely dry manicure underneath.
Can you use a regular nail polish under a gel top coat to save money?
Combining regular air-dry polish with a light-cured gel top coat is generally not recommended for beginners. Regular polish dries via solvent evaporation, a process that can take hours to complete fully. Sealing regular polish with a gel top coat before all solvents have evaporated traps moisture inside, resulting in immediate bubbling, wrinkling, and peeling within 24 to 48 hours.
What should I do if my at-home gel manicure keeps lifting within a few days?
Premature lifting is almost always a result of incomplete preparation or skin contact. Ensure that you are thoroughly removing the invisible true cuticle from the base of the nail plate, as gel will not adhere to skin tissue. Additionally, double-check that your layers are whisper-thin and that you are using a dedicated nail dehydrator and primer prior to applying your base coat.