How to Remove Acrylic Nails Safely at Home Without Damaging Your Natural Nails
Acrylic nails are one of the most durable and polished-looking manicure options available, but their removal is where most of the nail damage associated with acrylics actually occurs — and almost all of that damage is avoidable. The difference between a removal that leaves your natural nails thin, sore, and weakened for months and one that leaves them intact and healthy comes down almost entirely to method and patience.
This guide covers three removal approaches, starting with the most reliable and progressing to the most gentle, along with the aftercare steps that determine how quickly your natural nails recover.
Why Pulling, Peeling, or Prying Is Never the Answer
When an acrylic lifts at the edges, the instinct to peel or tug is understandable — the lift suggests the acrylic is already separating, and finishing the job manually feels logical. It isn’t. The acrylic bond doesn’t release uniformly. Where the edge has lifted, the acrylic has separated cleanly. Where it hasn’t, the bond is still attached directly to your nail plate. Pulling across that transition zone doesn’t release the bond — it tears through it, taking the upper layers of your natural nail with it.
The thinning, sensitivity, and prolonged weakness that many people associate with acrylic nails specifically are almost always the result of forceful removal rather than the acrylics themselves. Done correctly, removal leaves the natural nail essentially undamaged.
Method 1: The Acetone Soak — Most Reliable
This is the method professional salons use because it’s the most consistently effective. 100% pure acetone dissolves the acrylic polymer, breaking the material down from a hard solid into a soft, pliable substance that slides off the nail without force.
What you’ll need: 100% pure acetone (not regular nail polish remover, which is diluted), a glass or ceramic bowl, aluminum foil or reusable soak-off clips, cotton balls or pads, a nail file, a cuticle stick or orange stick, petroleum jelly, and cuticle oil for afterward.
Step 1: File the surface. Use a nail file to remove the shiny top layer of the acrylic. You’re not filing through the acrylic itself — just breaking the sealed surface so acetone can penetrate. This single step significantly reduces soak time.
Step 2: Protect the surrounding skin. Apply petroleum jelly generously around each nail and along the cuticle line. Acetone is dehydrating and will dry out skin on contact. The petroleum jelly barrier prevents this without affecting the acetone’s contact with the acrylic.
Step 3: Soak the cotton and wrap. Saturate pieces of cotton ball with acetone and place one over each nail. Wrap each nail firmly with a small square of aluminum foil, or secure with a soak-off clip. The wrapping keeps the acetone in direct, sustained contact with the acrylic rather than evaporating.
Step 4: Wait. This is the step most often rushed — and the source of most removal damage. Leave the wraps on for twenty to thirty minutes. Thick acrylic applications may need closer to forty minutes. Checking too early and finding resistance is always followed by the temptation to force removal, which is exactly what you’re trying to avoid.
Step 5: Check and remove gently. Unwrap one finger and check whether the acrylic feels soft and is moving easily with gentle pressure from a cuticle stick. If it slides off with minimal effort, proceed with all nails. If it’s resisting, rewrap and add another ten minutes. The acrylic should feel like a soft putty that you push toward the nail tip — it should never require scraping or significant force.
Step 6: Buff and clean. Once all acrylics are removed, buff the nail surface lightly to smooth any remaining residue. Don’t file aggressively — the goal is a smooth surface, not thinning the nail further.
Pro tip: Warming the acetone before use speeds up the breakdown process. Place the sealed acetone bottle in a bowl of hot water for a few minutes before beginning. Warm acetone penetrates acrylic more efficiently than room-temperature acetone, shortening your soak time.
Method 2: Warm Water and Oil Soak — Acetone-Free Option
This method is gentler on skin and appropriate for those who are sensitive to acetone, prefer to avoid the fumes, or have particularly dry skin that acetone would worsen significantly. The trade-off is that it takes considerably longer and may require multiple sessions for thick or well-bonded acrylics.
What you’ll need: A bowl of warm water, cuticle oil or olive oil, a cuticle stick, and patience.
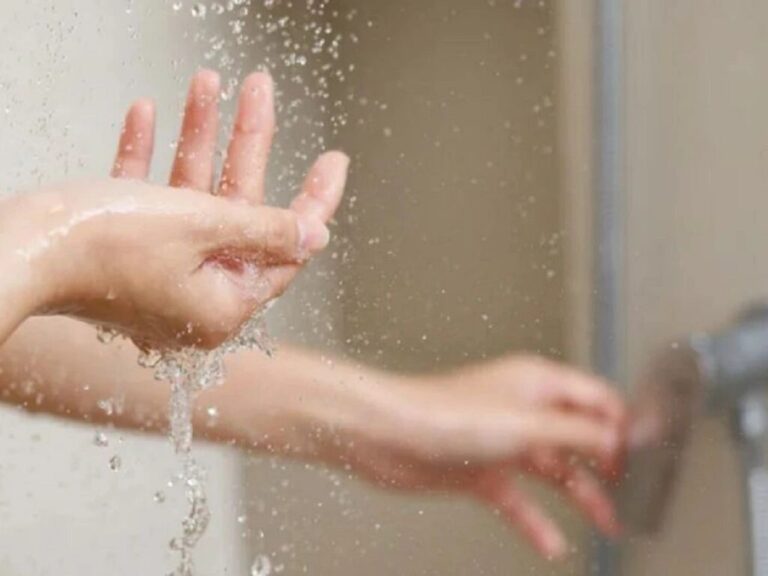
The process: Soak your nails in warm water for fifteen to twenty minutes, then apply cuticle oil around the edges of the acrylic and gently attempt to work the edge upward with a cuticle stick. The water softens the acrylic bond and the skin, making gentle manipulation possible without the chemical breakdown that acetone provides.
This method works most effectively on acrylics that are already somewhat lifted, on thinner applications, or on acrylics that are older and have experienced some natural degradation of the bond. For fresh, well-adhered, full-coverage acrylics, repeated sessions over several days may be necessary, which requires significant patience but protects nail integrity completely.
The warm water method will never dissolve the acrylic the way acetone does — it works by softening and working the bond rather than chemically breaking it. Any resistance means the acrylic isn’t ready and more soaking is needed.
Method 3: The Dental Floss Technique — For Already-Lifting Acrylics Only
This method is specifically limited to situations where the acrylic is already substantially lifting — not just at the edge tip, but along a significant portion of one or both sides. Using it on firmly bonded acrylics carries real risk of the damage described earlier.
The process: Have a second person hold a length of dental floss and use a cuticle stick to create a starting point at the lifted edge. The second person works the floss under the lifted section and uses a gentle sawing motion to work toward the nail base, maintaining consistent gentle pressure rather than any jerking or pulling.
This is the fastest of the three methods when conditions are right, but fastest isn’t always safest. If the floss meets any significant resistance at any point during the process, stop. Resistance means the bond is still intact in that area, and continuing will cause damage. Return to the soak method for remaining sections.
Aftercare: The Step That Determines How Well Your Nails Recover
The condition of your natural nails immediately after removal is typically the best they’ll be for a while — the damage potential from the removal process is greatest in the moment. How well they recover from there depends almost entirely on aftercare consistency.
Buff lightly. Use a fine-grit buffer to smooth the nail surface. One pass in each direction is sufficient — over-buffing thins the nail plate further.
Apply cuticle oil immediately and consistently. This is the single most impactful aftercare step. Cuticle oil applied immediately after removal begins rehydrating a nail plate that has been under an airtight acrylic seal. Daily cuticle oil application for at least two weeks following removal — ideally longer — accelerates recovery noticeably compared to sporadic application.
Moisturize thoroughly. Acetone removal specifically leaves skin dehydrated beyond the nail itself. Apply a rich hand cream immediately after removal and repeat multiple times throughout the first twenty-four hours.
Use a strengthening or protective base coat. If you’re applying any further nail product, a strengthening or fortifying base coat provides both protection and a degree of structural support to recovering nails. If leaving nails bare, a strengthening treatment applied every few days achieves the same benefit.
Give nails genuine recovery time. The desire to immediately reapply a new set of acrylics is understandable, but natural nails that haven’t had adequate recovery time between applications gradually weaken with each cycle. Even two weeks of bare nail time with consistent cuticle oil and moisturizer makes a meaningful difference to the long-term health of the nail.
Mistakes That Set Back Recovery
Peeling or forcing during removal. Covered above, but worth repeating because the instinct is strong: any resistance means not ready. More time, not more force.
Using diluted nail polish remover instead of pure acetone. Regular nail polish remover contains conditioning agents and water that dilute the acetone significantly. It won’t effectively dissolve acrylic in a practical timeframe and typically leads to the impatience and force that causes damage.
Skipping the surface filing step. The sealed top coat of an acrylic manicure is specifically designed to be impermeable. Without breaking it, acetone works from only the edges rather than penetrating the full surface, extending the soak time dramatically and often producing incomplete dissolution.
Skipping aftercare. The removal process is complete when the acrylic is off, but nail recovery is not. Treating aftercare as optional rather than essential is what leads to the prolonged weakness and brittleness that gives acrylics their reputation for nail damage.
Filing aggressively after removal. The nail surface may have some roughness or residue after removal that’s tempting to file away quickly. Aggressive filing on already-compromised nails increases thinning. Light buffing is sufficient.
Final Thoughts
Acrylic removal at home is straightforward when you respect the fundamental principle: let the chemistry do the work, and never substitute force for patience. The acetone method handles the vast majority of removals cleanly and effectively. The warm water method provides a viable alternative for those who prefer to avoid acetone. The dental floss technique offers a shortcut for specific, limited situations.
What all three methods share is the requirement for patience — patience during the soak, patience during the removal, and patience during the recovery period that follows. That patience is what distinguishes a removal that leaves your natural nails healthy from one that sets them back for months.
Your natural nails are capable of recovering fully from acrylic wear. Give them the right removal and the right aftercare, and they will.
How long does at-home acetone removal take in total?
Plan for forty-five minutes to an hour for a complete removal including setup, soaking, and cleanup. The actual soak is twenty to thirty minutes of waiting, with filing preparation and gentle removal making up the remainder. Rushing any stage produces worse results.
Will my nails be noticeably damaged after removal?
Done correctly with no forcing, your nails should feel essentially intact immediately after removal, with some dehydration and surface dullness from the acetone. The dehydration resolves quickly with cuticle oil and moisturizer. If your nails feel thin or tender after removal, it indicates either some mechanical stress during removal or that the acrylic application had compromised the nail surface before removal began.
How long before I can get new acrylics?
There’s no absolute rule, but allowing at least one to two weeks of recovery with consistent cuticle oil and moisturizer gives the nail plate adequate time to rehydrate and recover before the next application. Some people maintain back-to-back acrylic applications with healthy nails; others need longer recovery. Monitoring your natural nail’s thickness and condition is the best guide.
Is the warm water method safe for sensitive skin?
Yes — it’s actually the gentlest option for skin as well as nails. The absence of acetone means no chemical dehydration of skin or nails, and warm water is inherently gentle. The trade-off in time and effectiveness is the only consideration.